

Want to give your concrete patio, balcony, or rooftop a fresh, green upgrade? Artificial grass on concrete is an excellent solution. Whether you’re enhancing your backyard, setting up putting greens, or transforming a dull surface, installing synthetic turf on concrete can add comfort, beauty, and function.
While turf is often used on soil or dirt, it can be installed on concrete—you just need the right tools, materials, and approach to ensure it lasts. This guide will walk you through how to install artificial grass on concrete with 10 practical tips to help you get the best, most professional results.
Before you start laying synthetic turf on concrete, inspect the base. The concrete surface is suitable for turf installation if it’s:
Uneven surfaces may require patching or leveling compound before moving forward. Any dips could cause the turf to wear unevenly or trap water underneath.
Here’s a list of basic tools and materials you’ll need:
Having the right equipment makes your artificial grass installation smoother and more efficient.
Before you install artificial grass, clean the surface. Remove all dirt, debris, and oil stains. A pressure washer or a stiff broom with a degreaser can help. A clean, dry surface ensures the turf adhesive bonds properly.
Concrete is hard—and walking on it with turf laid directly on top can still feel a bit rough. For added comfort, especially in play areas or putting greens, install foam padding beneath the turf.
Foam padding also helps improve drainage and protects the turf backing from wearing out over time.
Use a tape measure to calculate the area you’re covering. Order turf that’s slightly larger than the space so you can trim the excess turf for a clean fit. Planning the direction of the artificial turf blades can also make seams less noticeable.
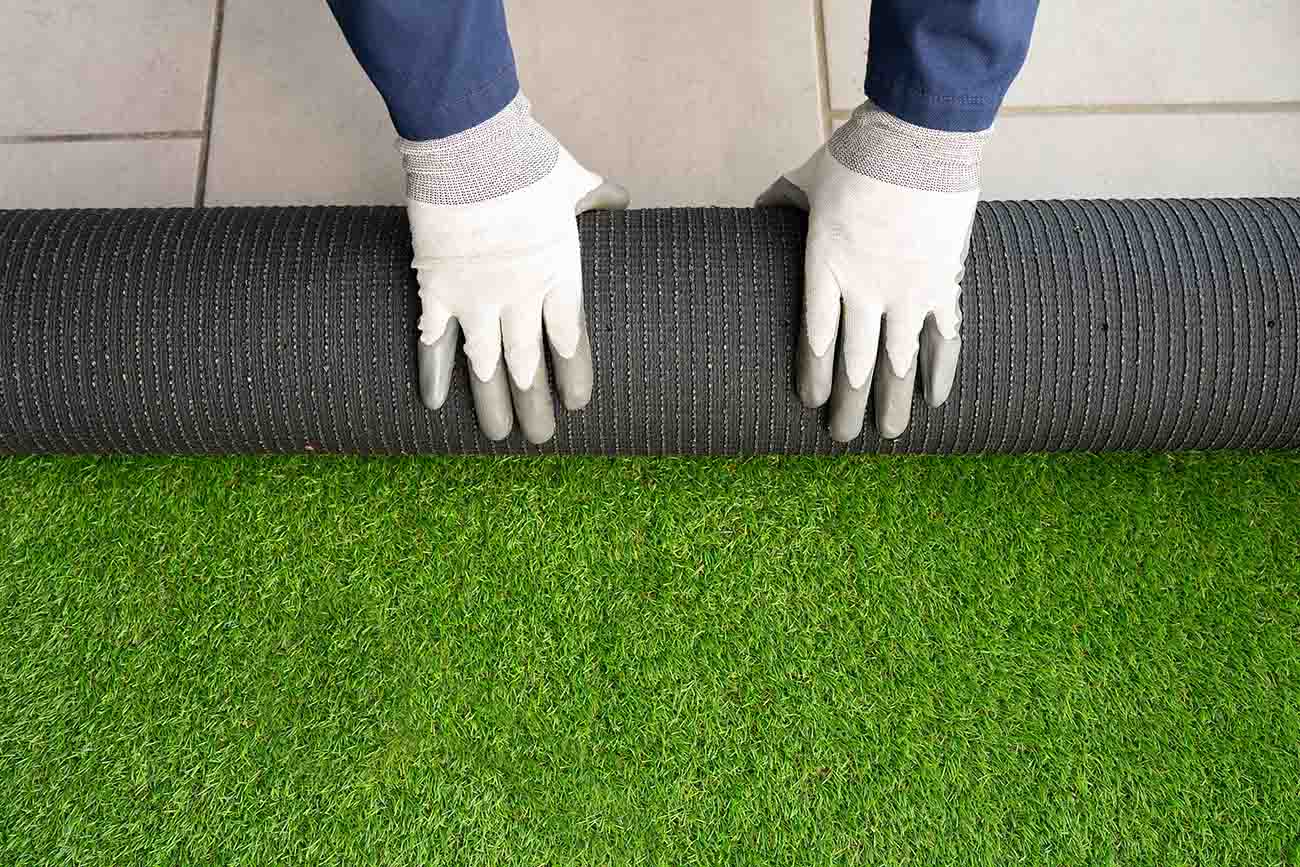
Before using glue or tape, place the artificial grass over concrete and lay it out completely. This “dry fit” step allows you to check for fit, make adjustments, and plan your seam locations if needed.
Let the turf sit for a few hours or even overnight to help it settle and remove any creases from being rolled.

If you’re using more than one piece, secure the seams with seam tape and turf adhesive. Place the tape beneath the seam, apply adhesive, and press both turf edges down evenly. Then, apply pressure with a heavy object or roller to ensure a strong bond.
Proper seams are critical to avoid visible lines or loose edges over time.
Next, secure the edges using a strong turf adhesive designed for outdoor use. Apply the adhesive in strips or a full layer around the perimeter. Avoid gluing the entire underside of the turf—this prevents water from draining properly.
Make sure to apply pressure to the glued areas using bricks, weights, or a roller until the adhesive fully sets.
Once the grass on concrete is in place and secured, brush silica sand into the turf. Infill helps the blades of artificial turf stand upright and provides weight to keep the turf stable. It also improves durability and gives your lawn a more realistic feel.
Spread the silica sand evenly using a stiff broom and repeat the brushing process until the turf looks natural.
After installing the artificial grass, inspect the area:
Take a step back and admire your work—you’ve just transformed a plain concrete surface into a beautiful, low-maintenance oasis!
There are many reasons why people choose to lay artificial grass over concrete. Some of the key benefits include:
Whether you’re revamping a residential patio or a commercial space, artificial grass on top of concrete offers long-lasting, visually stunning results.
Most types of artificial grass can be installed on concrete, but some perform better than others in these conditions. Look for turf products with:
Consulting with a professional turf supplier can help you choose the right product for your project.
Installing synthetic turf on concrete isn’t difficult when you follow the right steps. With careful planning, proper tools, and attention to detail, your turf will look great and hold up for years.
From rooftops to sports areas, knowing how to install artificial grass on concrete helps you unlock the full potential of your space. It’s a smart investment that blends beauty with function—without the hassle of traditional lawn care.
Need help choosing the right turf or want a quote for installation? Contact NexGen Lawns today and let our team guide you every step of the way. Whether you’re going DIY or want pro help, we’re here to ensure your artificial grass installation is done right.


