


Article Summary:
Installing your own artificial lawn is a great way to achieve a clean, green, low-maintenance yard all year long. However, like any home improvement project, proper preparation and technique are essential. Whether you’re replacing a natural lawn, building a putting green turf area, or simply upgrading a patio space, knowing how to lay fake grass and how to cut artificial grass correctly can make a major difference in the final result.
This guide will walk you through laying synthetic grass step by step, along with expert tips on cutting artificial grass, securing the turf, and completing a successful artificial turf installation that looks and feels professional.
Homeowners are increasingly choosing synthetic grass for its:
And while installing artificial grass might sound intimidating at first, with a few tools, some prep work, and careful attention to detail, it’s totally doable.
Before you begin, gather the following tools and supplies:
Whether you’re laying synthetic turf on soil, gravel, or a putting green turf base, preparation is essential. Start by removing any existing natural grass, debris, rocks, or roots.
This creates a stable foundation before laying down artificial turf.
Roll out your synthetic turf and let it sit in the sun for a few hours. This helps the material relax and makes it easier to cut and install.
Use your tape measure to calculate how much turf you’ll need. Try to lay your pieces in a way that minimizes seams and ensures the artificial grass blades run in the same direction—this helps it look more natural.
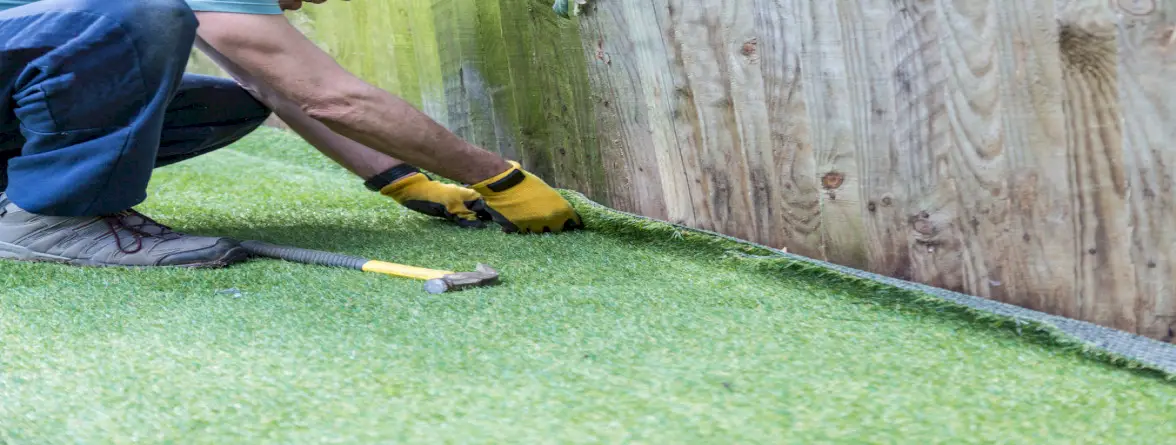
When it comes time to lay artificial grass, follow these best practices:
Laying synthetic grass with care and consistency will make securing the turf and trimming much easier in the next steps, especially around concrete.
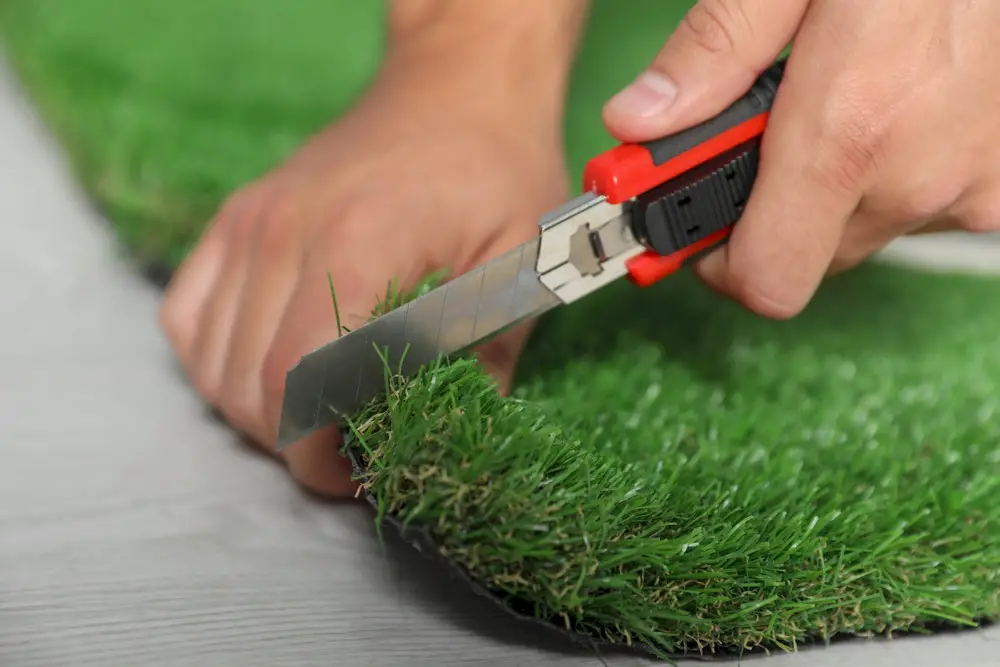
Cutting artificial grass is a critical step in the artificial grass installation process. Clean cuts result in a more natural appearance and ensure edges and seams are tight and smooth.
For curves, around trees, or along borders, make small cuts and trim gradually to avoid gaps or jagged lines.
If your project requires multiple rolls, you’ll need to create seamless joins between them.
Make sure there’s no gap or overlap. Seams should be nearly invisible once brushed out.
Once the turf is in place and cut, it’s time to secure it properly.
Securing the turf properly ensures it won’t shift, wrinkle, or lift—especially in high traffic areas.
Infill is used in artificial turf installations to help the blades stand upright, add cushion, and improve drainage. It’s especially helpful for areas like putting green turf or synthetic turf used for pets.
Use a drop spreader to distribute infill, then brush the turf to work it into the base.
To finish your artificial grass install, brush the turf against the grain using a stiff broom or power brush. This helps the synthetic grass blades stand tall and look natural.
Make final trims if needed and enjoy your fresh, green synthetic turf!
To make your turf project successful, avoid these pitfalls:
Attention to detail at every step makes a huge difference in how your turf looks and lasts.
Knowing how to lay fake grass and how to cut artificial grass properly is the key to a beautiful, long-lasting artificial turf installation. Whether you’re creating a pet area, laying down artificial turf for a patio, or building a DIY putting green, following these best practices ensures professional-looking results.
With the right tools, a little patience, and solid prep work, you can enjoy a lush, low-maintenance lawn made from synthetic turf—no mower required.


