Article Summary: Wondering how to seam artificial grass for a seamless, long-lasting installation? This guide walks you through the best practices and methods for joining turf pieces, whether you’re working on a lawn, pet area, or putting green.
A flawless seam improves turf appearance and durability—master the process for a clean, professional finish.
When it comes to artificial grass installation, one of the most important steps is creating clean, durable seams. Whether you’re covering a large backyard, building putting greens, or working on a commercial landscape, knowing how to seam artificial grass properly ensures a seamless, natural-looking finish.
In this guide, we’ll explore the best practices and tools for seaming artificial grass, common mistakes to avoid, and how to handle artificial grass seam repair when needed.
When multiple pieces of turf are joined together, the point where they meet is known as a seam. Poorly executed seams in artificial grass can look obvious, wear down quickly, or even come apart over time. On the other hand, a well-done artificial turf seam will blend in with the surrounding blades and hold up for years. As turf becomes more popular, more homeowners are looking for help with seaming.
The seaming process isn’t complicated, but it does require careful alignment, the right base materials, and solid technique.
Before you begin seaming artificial, it’s critical to ensure your base materials are properly installed. The ground should be:
A well-prepped base ensures the turf lies flat and the seam area stays secure.
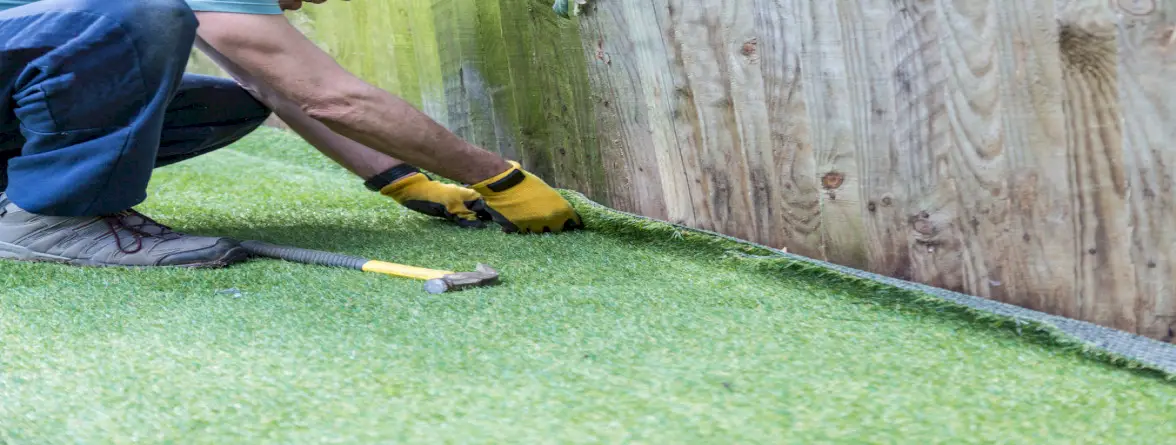
When laying pieces of turf, make sure the blades of grass are pointing in the same direction. Even high-quality turf will look unnatural if the artificial grass seams are misaligned.
Tips for alignment:
Matching blade direction is one of the most important parts of a successful artificial grass installation.
There are two common ways to seam artificial grass: with seaming tape and adhesive or with turf nails/staples. The method you choose depends on your project and surface type.
This is the most popular method for seaming artificial grass, especially on concrete or compacted bases.
Pro Tip: Avoid over-applying adhesive, as it can ooze through the blades and be difficult to remove.
This method uses turf nails or staples to hold the seam in place instead of glue. It’s faster and less expensive but may not last as long in high-traffic areas.
While this method is easier, it may not hold up as well as seaming tape and glue over time.
After seaming, use a power broom or stiff-bristled broom to fluff up the turf and blend the blades across the seam. This helps hide the seam line and lifts the synthetic grass blades into a more natural position.
Don’t skip this step! Brushing is what turns a visible line into an invisible join.
Even with proper installation, seams may eventually show wear.
Artificial grass seam repair is straightforward if caught early. Regular maintenance and inspection can prevent small issues from turning into costly fixes.
Whether you’re a DIYer or working with a pro installer, here are key tips for mastering how to seam artificial grass:
Taking your time during the artificial grass installation process pays off with cleaner, longer-lasting results.
Seaming turf for putting greens requires additional care since even slight imperfections can affect ball roll.
The goal is a flat, smooth, and invisible seam that won’t disrupt play.
Seaming artificial grass isn’t just about connecting two pieces—it’s about creating a seamless transition that disappears into the lawn. From selecting the right method to brushing in the final touches, every step counts.
By understanding how to seam artificial grass, using the proper tools like seaming tape, and learning artificial grass seam repair techniques, you’ll get a professional finish that lasts.
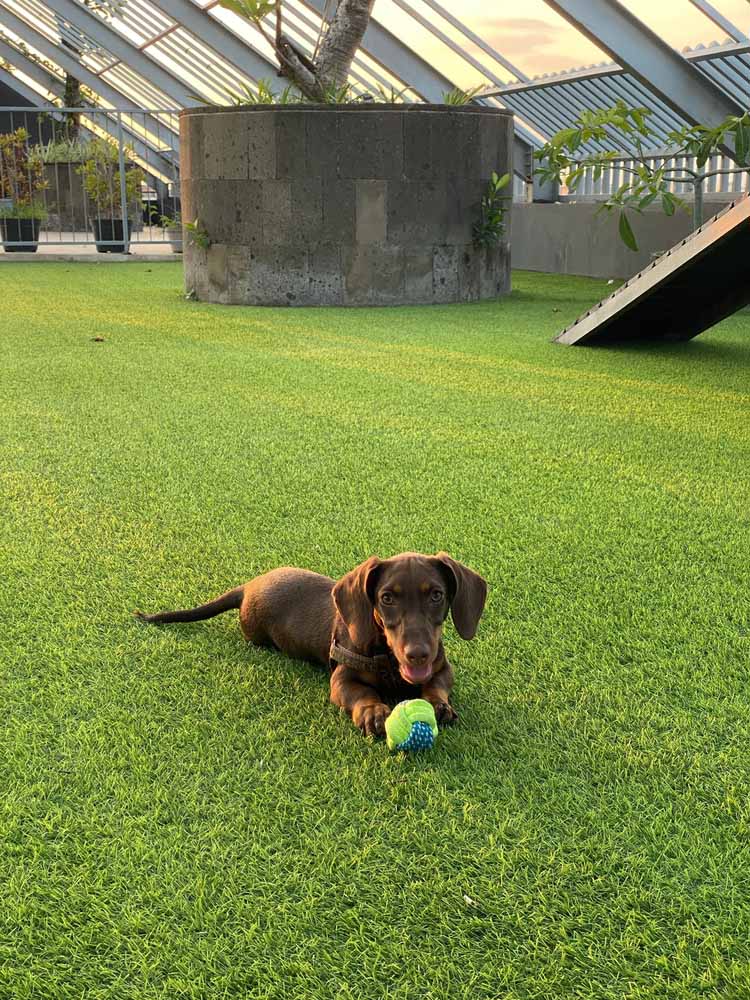
Whether you’re building putting greens, designing a backyard retreat, or upgrading commercial turf, NexGen Lawns offers expert support, premium products, and everything you need for a successful artificial grass installation. Get started with the perfect fake grass for your lawn!